A note from Chefolio: we make an app that edits food photos. Chefolio is designed to change lighting and backgrounds, but an AI edit can also change the food. We label our edits and check them against the source.
Teaching example edition: sample layouts use labelled AI imagery or explicitly labelled AI edits. Example prices, dates and offer details are fictional; they are not offers from a food business.
If you sell Christmas cookies from home, the menu photo does more selling than anything you'll write. People screenshot it, send it to their sister, and pull it back up the night your preorders open. It's worth getting right, and that's much easier in October than in the second week of December.
Everything below assumes you've already done the math on pricing. This is about the photos and the menu that come after.
Work backward from pickup day
Christmas 2026 falls on a Friday. A sample plan is to open holiday preorders in November, close them in early December, and hand out boxes in the last week before Christmas:
When | What to do |
|---|---|
Early October | Pick your designs and bake one sample set of each |
Mid-October | Photograph the samples in daylight |
Late October | Build the menu graphic and write the price list |
Early to mid November | Announce the menu and open preorders |
Around December 11 | Close orders |
December 18 to 23 | Pickups |
Move the dates to fit your oven and your life. Keep the order, though: photos before the announcement, announcement before preorders open. If you shoot the samples the same week you announce, you'll be photographing at 11 p.m. under the range hood light, and it will show.
Settle the lineup before you pick up your phone
A holiday menu with 14 options gives customers more to compare and gives you 14 designs to manage in December. Start with a lineup you can make reliably.
Three to six choices is plenty for a one-person bakery. A signature box that you want most people to buy, a smaller and cheaper box for teachers and neighbors, and one or two themed sets will cover almost everyone. Add-ons like gift tags or ribbon can sit underneath as a single line.
Set the prices from your ingredient, packaging and labor costs, along with the margin you need. The menu below uses fictional prices to demonstrate the layout; it is not a pricing survey.
Shoot the whole lineup in one afternoon
Bake the sample sets a day ahead so the icing has fully set. Then block out one afternoon with good daylight.
Set up next to your brightest window, with the light coming from the side. Turn off every overhead light in the kitchen. Mixing warm bulbs with daylight is what turns white icing yellow. If the sun is hitting the counter directly, tape a sheet of parchment over the window to soften it.
Pick one backdrop and use it for every set. A white foam board, a sheet of wipeable vinyl, or a cake board all work fine. Matching backdrops make the menu look like one menu instead of six unrelated posts.
For each set, take three shots:
- The full box or plate, straight on or at a slight angle, with empty space above it for text
- A close-up of the best cookie, so people can see the piping
- The whole lineup together as a flat lay, which often ends up as your announcement image
Shoot vertically. A 4:5 frame fits the Instagram feed, and if you leave some room at the top and bottom you can crop a 9:16 version for Stories from the same photo.
Build a menu people can order from without messaging you
A good holiday menu answers every question on one screen. Yours should show:
- The name of each set and what's in it ("Box of 6: 2 trees, 2 snowflakes, 2 mittens")
- The price
- When orders open and when they close
- Pickup days, times, and the general area (you don't need to post your address)
- How to order, with the link in your bio or on your ordering page
- Your deposit or payment rule
- Any allergen statement you normally include
Put the prices in your caption too, as plain text. Screen readers can't read text inside an image, and a customer searching their messages in December for "how much was the box of 12" won't find a picture.
If you lay it out in Canva, keep it simple: one photo per set, with the name and price underneath, all on one page. Skip the snowflake clip art. The cookies are festive enough.
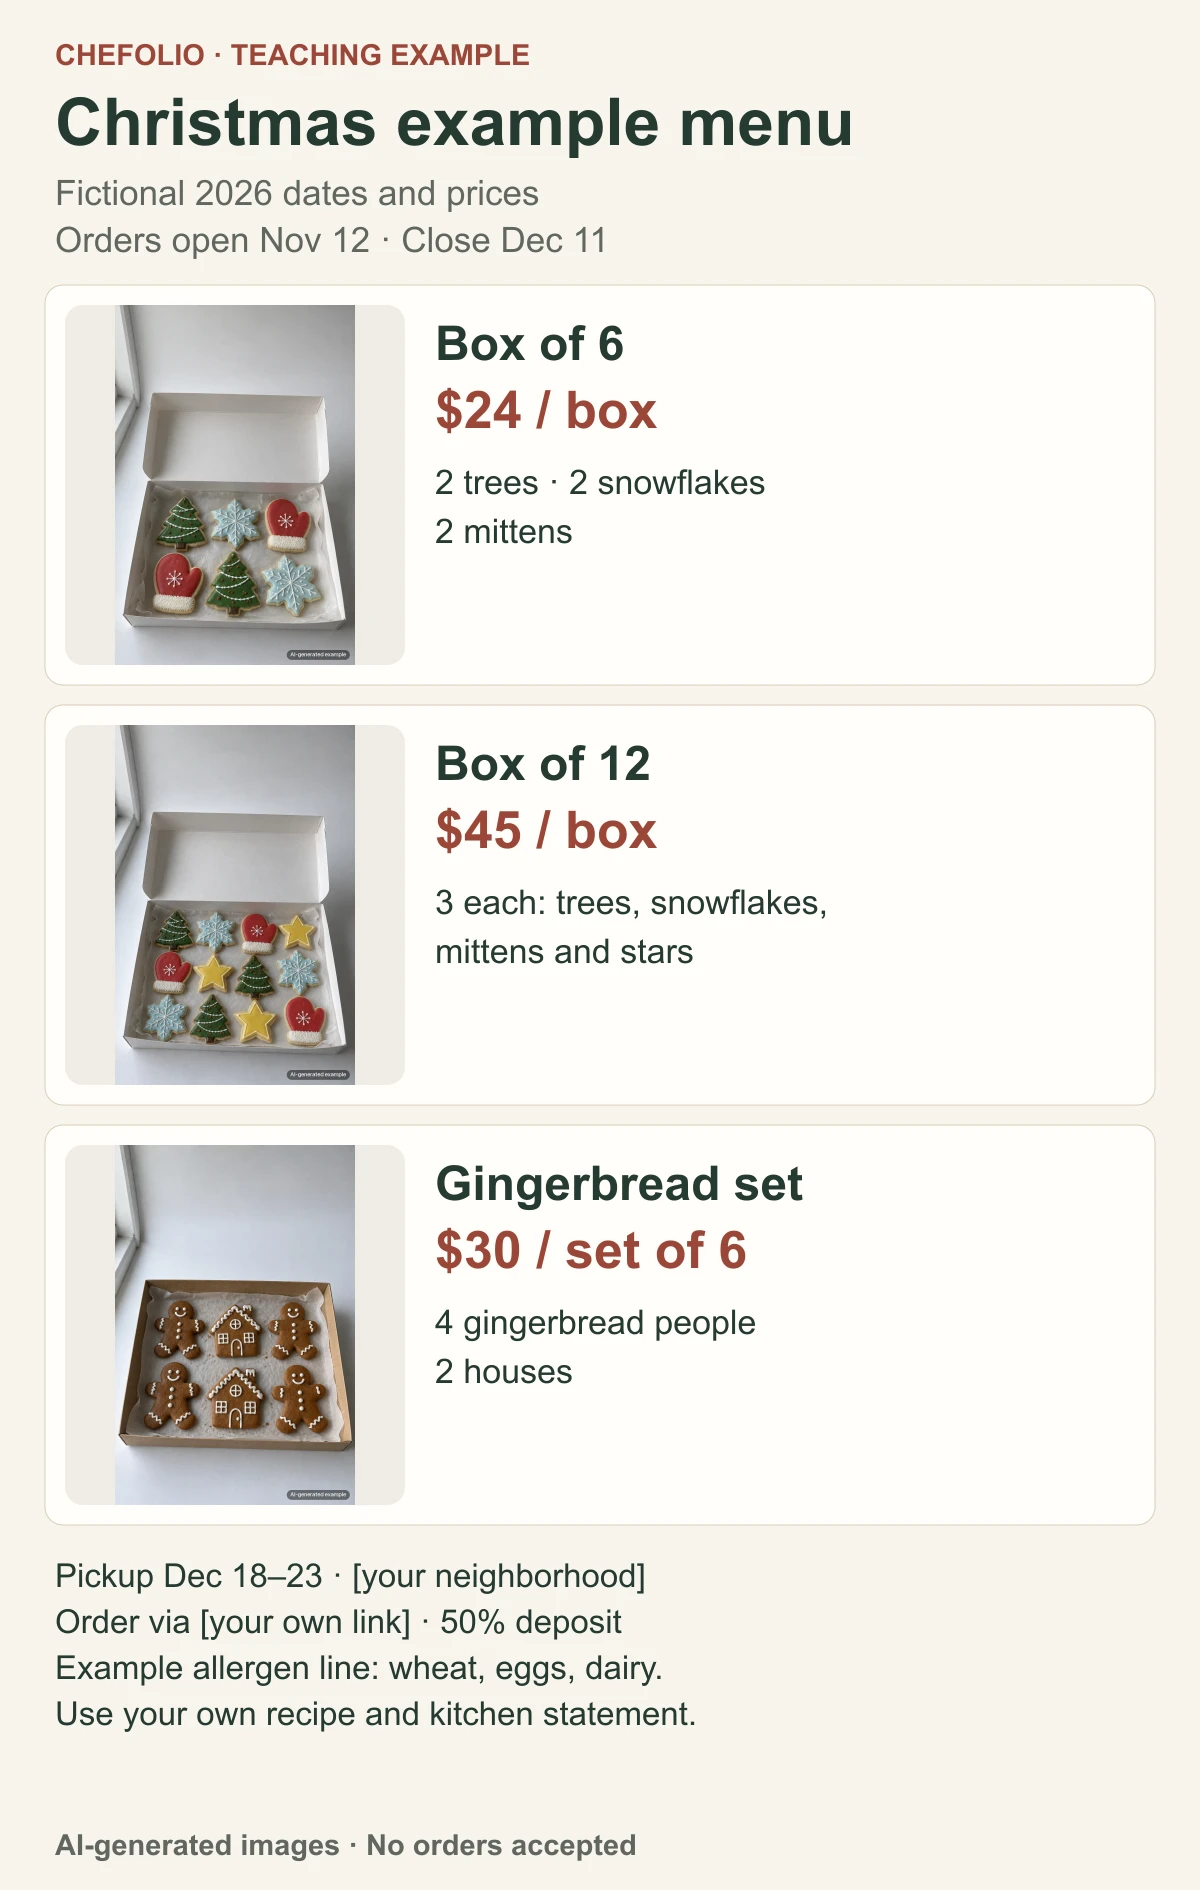
The example menu uses Box of 6 at $24, Box of 12 at $45 and a six-cookie gingerbread set at $30. Those numbers only make the teaching layout concrete. Your own caption should repeat your real set contents, prices, deadline and pickup details.
Where Chefolio fits in
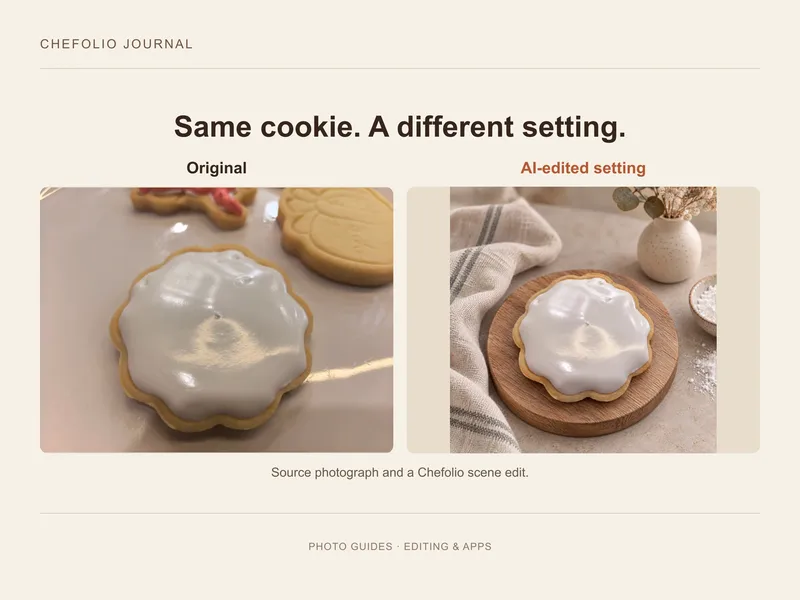
Sometimes the samples get photographed at night anyway, or on a floury counter next to the mixer. You can try a Chefolio scene edit on your own photograph, then compare the result with the source. Once an image passes that check, add the set name, count and price in your layout tool. Keep a text-free copy as well as the finished menu.
Check every result against your original: the piping, colors, and count should match what you baked. If a detail changed, don't use that version. When you post an edited photo, say so. Use a line such as "Background digitally edited" when that accurately describes the result.
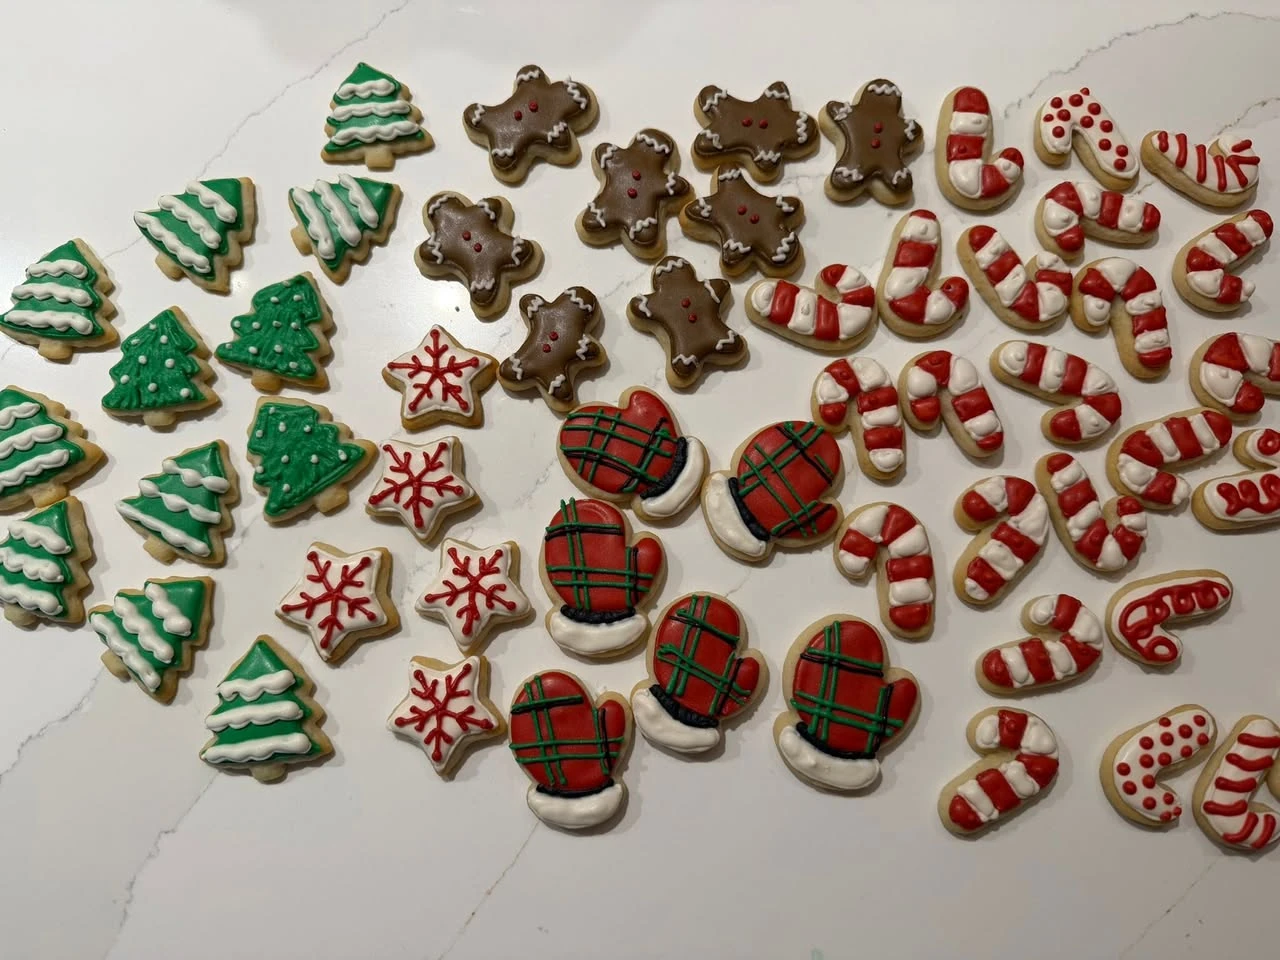
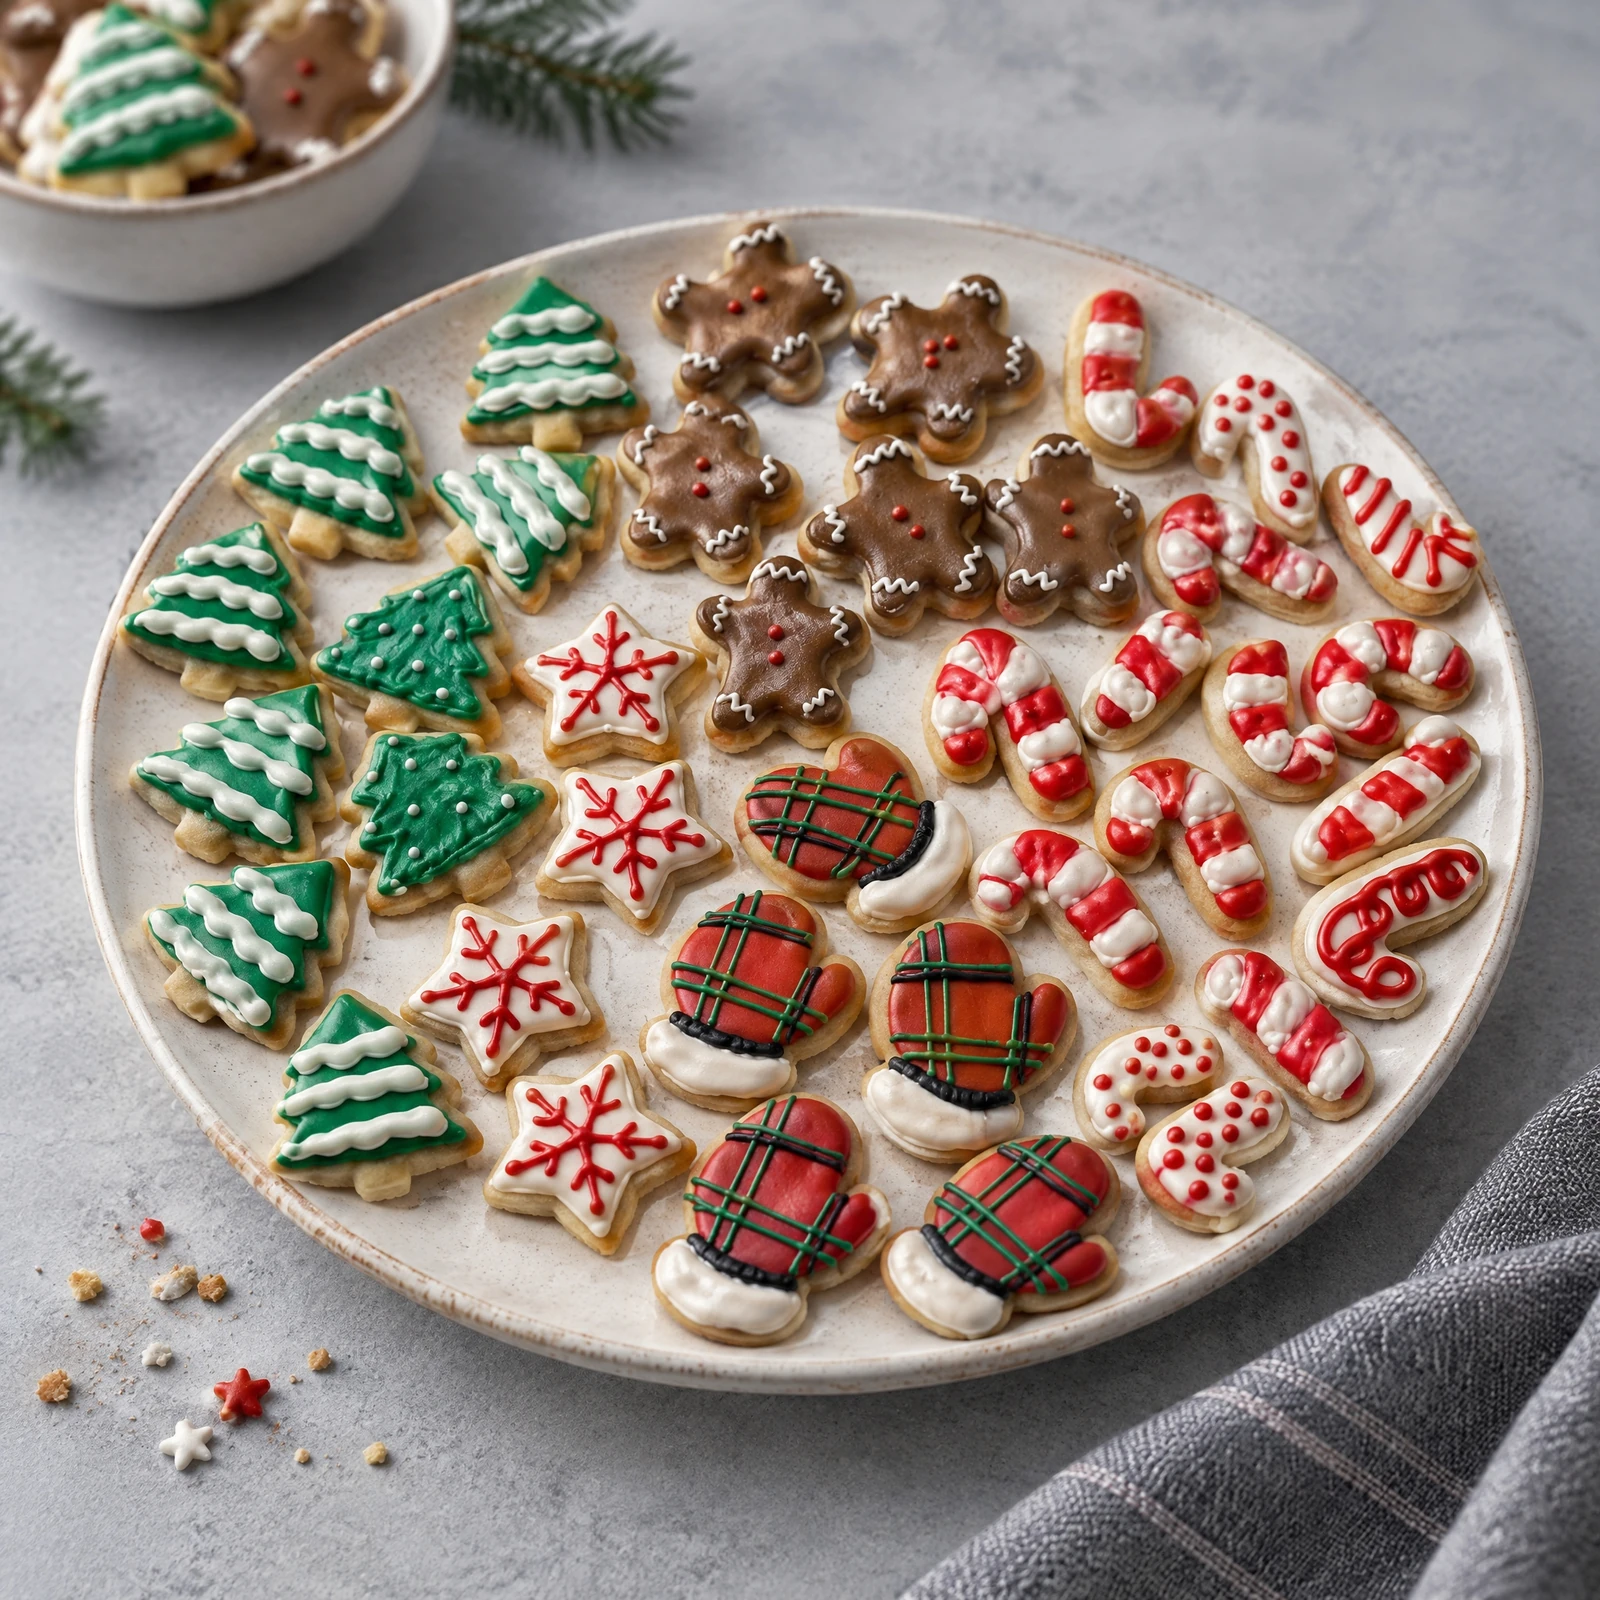
Quality-check example, not a menu product photo. The extra background bowl contains AI-generated cookies, and some food details were redrawn. Request another version or use the source photograph. This does not demonstrate a six-cookie box, a complete price menu, or a verified night-photo rescue.
Five checks before you announce
- The prices in the image match the prices in the caption and on your order form
- Every set pictured is a set you're selling this year
- The order deadline appears in the image as well as the caption
- The photo is still sharp when you view it at phone size
- The original photos are saved somewhere you'll find them next October
That last one matters more than it sounds. Next year you'll want to reuse a design or post a "last year's favorites" roundup, and you'll be glad the files are in a folder instead of buried in your camera roll.
If you want to run your sample set through Chefolio before you announce, you can do it in your browser or on iPhone:

No comments yet