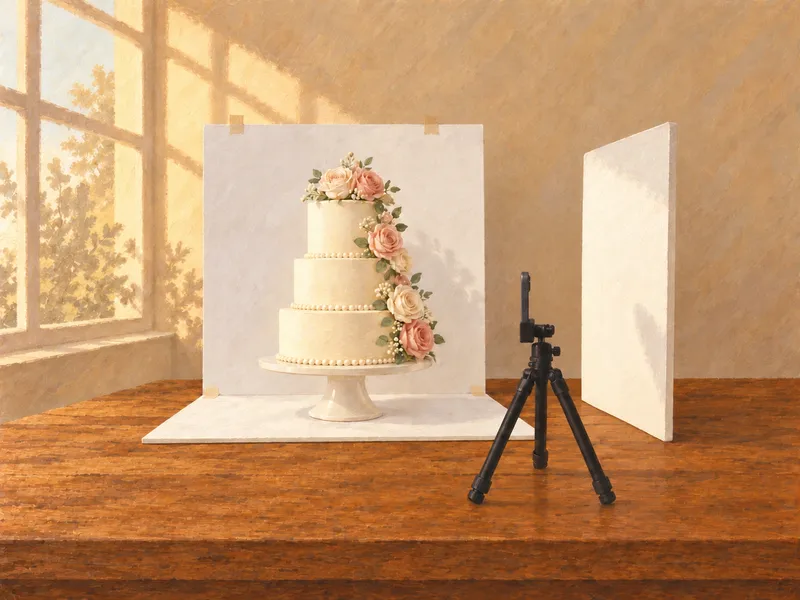
A note from Chefolio: we make an app that edits food photos. Chefolio is designed to change lighting and backgrounds, but an AI edit can also change the food. We label our edits and check them against the source.
Teaching examples: AI-generated setups and comparisons below illustrate the ideas. They are not records of physical photography tests, and their food details may differ between panels.
Tall cakes are hard to photograph from a standing position. Hold your phone at chest height, point it down at a three-tier cake, and the top tier comes out huge, the bottom tier shrinks, and the whole cake looks like it's leaning back. Nothing's wrong with the cake. You're shooting it from the wrong height.
Put the camera at the middle of the cake
The single biggest fix is height. Lower your phone until it's level with the middle of the cake, roughly the line between the bottom and middle tiers on a three-tier cake. From there, the tiers keep their real proportions and the sides look straight.
Hold the phone upright and level, not tilted. If you have to tilt it to fit the cake in, step back instead. Tilting is what makes cakes lean.
A cake stand helps a lot here. It lifts the cake to a height where you can shoot at the middle without kneeling on the kitchen floor.
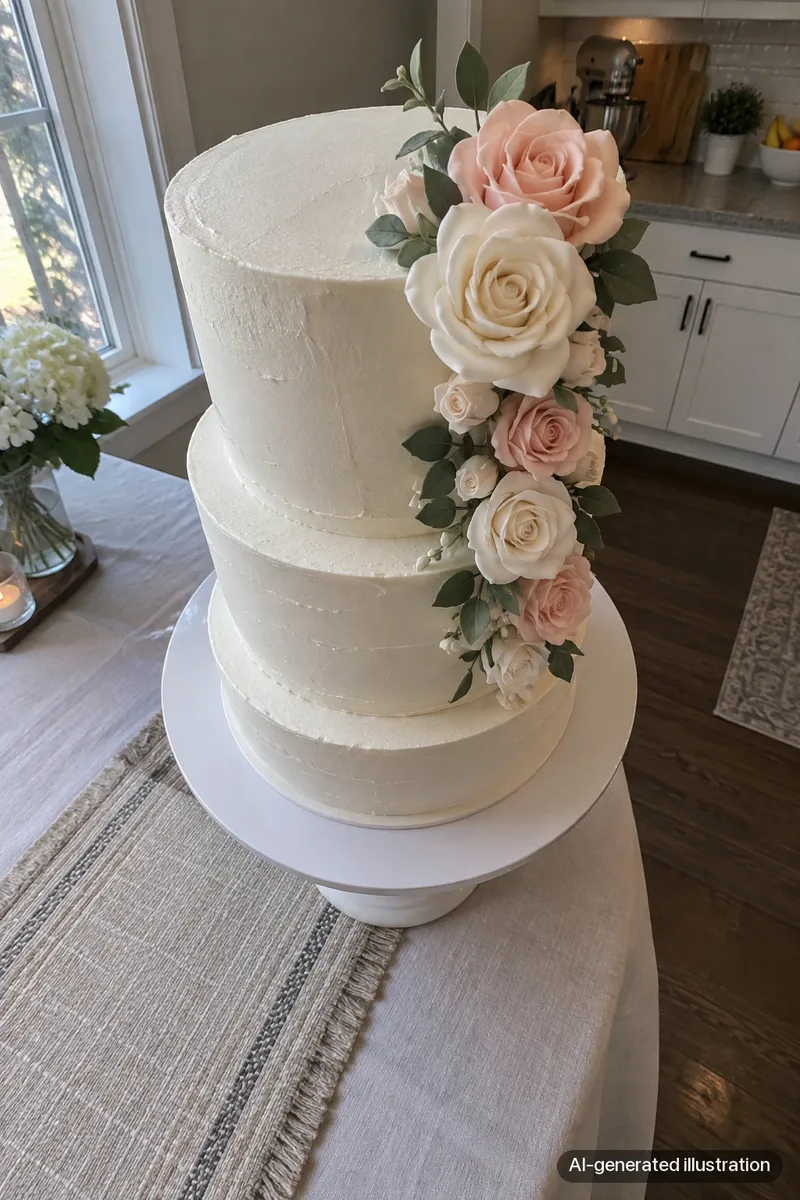
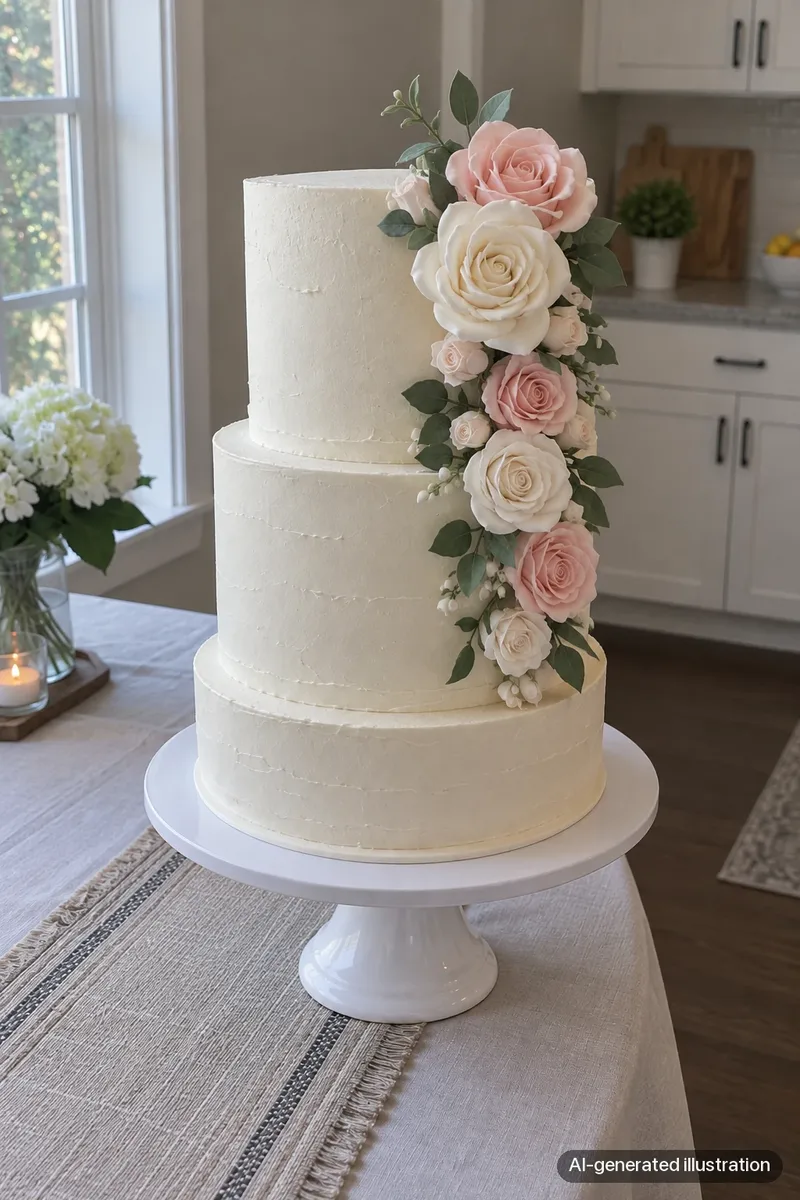
AI-generated viewpoint concepts. They illustrate why camera height and distance matter, but they are not actual shots with recorded 0.5x and 2x settings and do not establish the same cake’s exact dimensions.
Step back and zoom in
Phone ultra-wide lenses exaggerate whatever is closest to them. Get close to a tall cake with one and the nearest tier bulges. Step back until the whole cake fits with a little room around it. If your phone has a suitable 2x or 3x lens, use it to frame the cake from that distance, and check sharpness before you keep the shot.
More distance reduces the difference in apparent size between the nearest and farthest parts of the cake. Zoom helps frame it from there; zoom alone does not change perspective.
Light the side, not the front
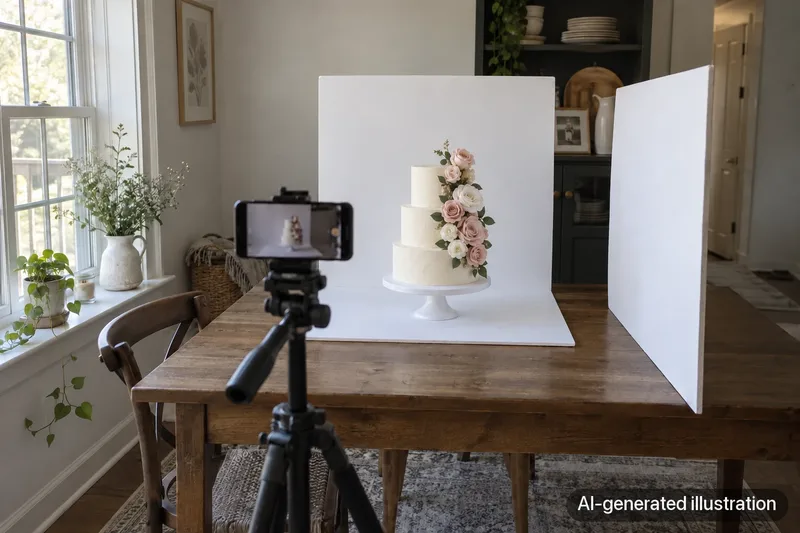
A window to one side of the cake, slightly behind it, is ideal. Side light shows the texture of buttercream and the depth of piped details. Light from the front, including the flash, flattens everything into one white shape.
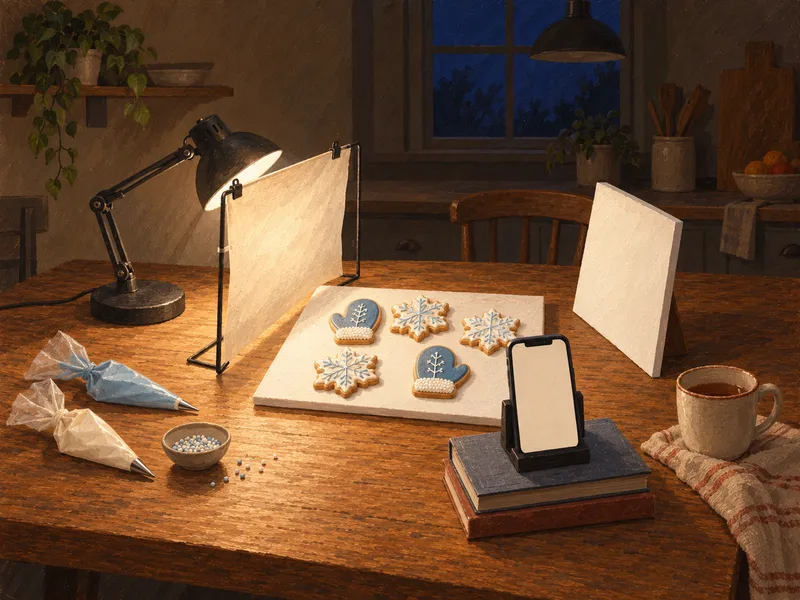
Put a white foam board on the side opposite the window to lift the shadows. Turn off the overhead lights, which throw yellow onto white frosting.
For white or pale cakes, tap to focus on the cake and drag the exposure down slightly. Fondant and white buttercream blow out easily, and once the details are gone, editing won't bring them back.
Deal with the background
This is where most cake photos fall apart. A tall cake shot at mid-height shows whatever is behind it, and in most home kitchens that's the fridge, a cabinet, or a pile of dishes.
Some fixes, from easiest to most effort:
- Move the cake so a plain wall is behind it
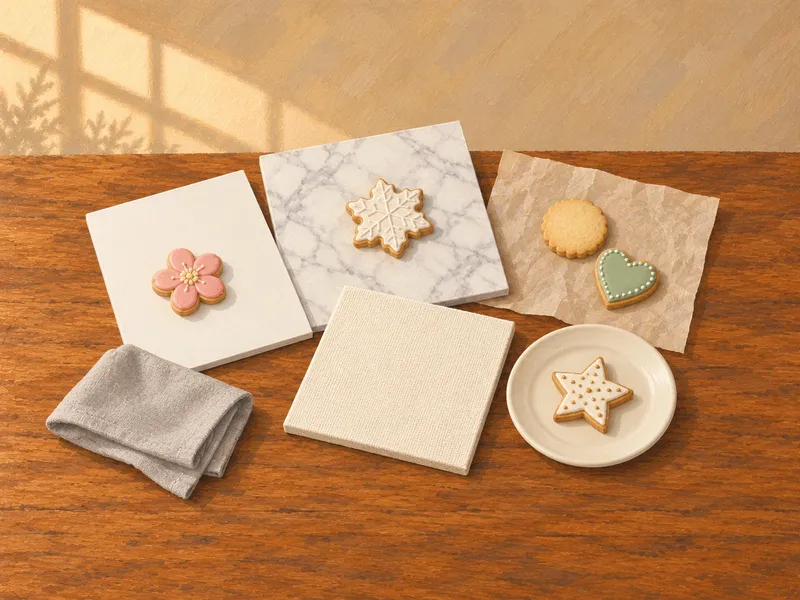
- Place two white foam boards in an L shape, one behind the cake and one under the stand, for a plain setting; the join may still show. A continuous backdrop rolled into a curve can hide the join.
- Hang a plain sheet or a roll of backdrop paper behind the cake
- Pull the cake a few feet away from the background so it falls further out of focus
Portrait mode can blur the background for you, but check the edges closely. It often smudges the outline of sugar flowers, cake toppers, and candles, and a customer will notice a half-blurred topper.
Take a small set of shots
For each cake, try to get:
- A straight-on shot at mid-height, showing the whole cake with some headroom for the topper
- A three-quarter view, turned slightly so the front and one side show
- Close-ups of the details you're proudest of: the piping, the sugar flowers, the lettering
- A shot with the cake board or stand in frame, so people can judge the size
Shoot vertically. A 4:5 frame fits a tall cake and fills the Instagram feed. Don't crop off the cake board; it tells people where the cake ends.
When the kitchen is the problem
Sometimes there's no plain wall, no time to set up boards, and the cake leaves in ten minutes. Take the photo anyway, at the right height, with the right lens. You can fix the background later. You can't fix the angle.
Chefolio can replace a cluttered kitchen background with a clean one and adjust the light around the cake. Tall cakes have fine edges, so check the topper, the flowers, and the outline of each tier against your original before you post. Add a note that the background was edited.
You can try it on a cake photo:

No comments yet